The Dream: A Studio Effect from Scratch
If you produce music, play an instrument, or just love listening to ambient tracks, you’ve probably heard that sound. It’s a huge, washing reverb that sounds less like a room and more like a choir of angels singing in a canyon.
There is a very famous, very blue, and expensive reverb unit known for creating these “Cloud” and “Shimmer” sounds. It is the gold standard for film scores, electronic music, and atmospheric rock.
My goal is simple: I want to build that sound myself.
But I’m not just going to write a program for a laptop or buy a DIY kit. I am going to build it using a piece of technology called an FPGA.
Welcome to Project Skyverb.
What is Reverb, Anyway?
To understand this project, you first have to understand what reverb actually is.
Imagine standing in a large, empty stone cathedral and clapping your hands once. You don’t just hear the clap; you hear a long, trailing woosh of sound that slowly fades away.
That trail is actually thousands of tiny echoes bouncing off the walls, the floor, and the ceiling. Some echoes reach your ears instantly, while others bounce around for seconds before you hear them. When you smash all those thousands of echoes together, your brain hears “reverb.”
The Challenge: “The Sky Algorithm”
Recreating a cathedral inside a microchip is a math problem.
To make a standard reverb, we use a digital tool called a Delay Line. This is like a recording tape loop. We record the audio input, wait a few milliseconds, and play it back. If you do this once, it’s an echo. If you do it thousands of times per second at different speeds, it becomes reverb.
However, the “Sky” sound is special. It doesn’t just copy the sound; it blurs it.
My project aims to emulate a specific type of reverb algorithm often called a “Cloud” reverb. Here is the recipe we will be using:
- The Diffuser: This “smears” the sharp attack of the audio input so the sound is smooth, like a violin bow.
- The Delay Network: We will create dozens of echoes that feed back into each other, creating a wall of sound that never seems to stop.
- Modulation: This is the secret sauce. We will slightly wiggle the speed of the playback, just like a warped vinyl record. This makes the reverb sound “alive” and dreamy.
- Shimmer (The Extra Mile): Eventually, we want to pitch-shift the echoes up an octave to get that “angelic choir” effect.
Why use an FPGA?
Most effects units use a standard computer chip (like the one in your phone, but slower). These chips do one math problem at a time, very quickly.
I am using an FPGA (Field Programmable Gate Array).
An FPGA is a chip that doesn’t have a layout yet. It is a blank canvas of millions of logic gates that I can wire together myself using code.
- Standard Chip: Like a single super-fast chef chopping vegetables one by one.
- FPGA: Like hiring 100 chefs who all chop one vegetable at the exact same time.
This means my reverb can be incredibly fast (low latency) and powerful, handling massive streams of audio without breaking a sweat.
The Hardware: Going Discrete with Mercury 2
When I started Project Skyverb, I originally targeted the Digilent Zybo Z7. It’s a fantastic development board, but functionally, it felt a bit like using a sledgehammer to crack a nut. The Zybo has a complex embedded audio codec (SSM2603) customized with I2C configuration and proprietary data streams. It works, but it hides all the magic inside “Black Box” IP blocks.
I wanted to actually build the sound chip, not just configure someone else’s.
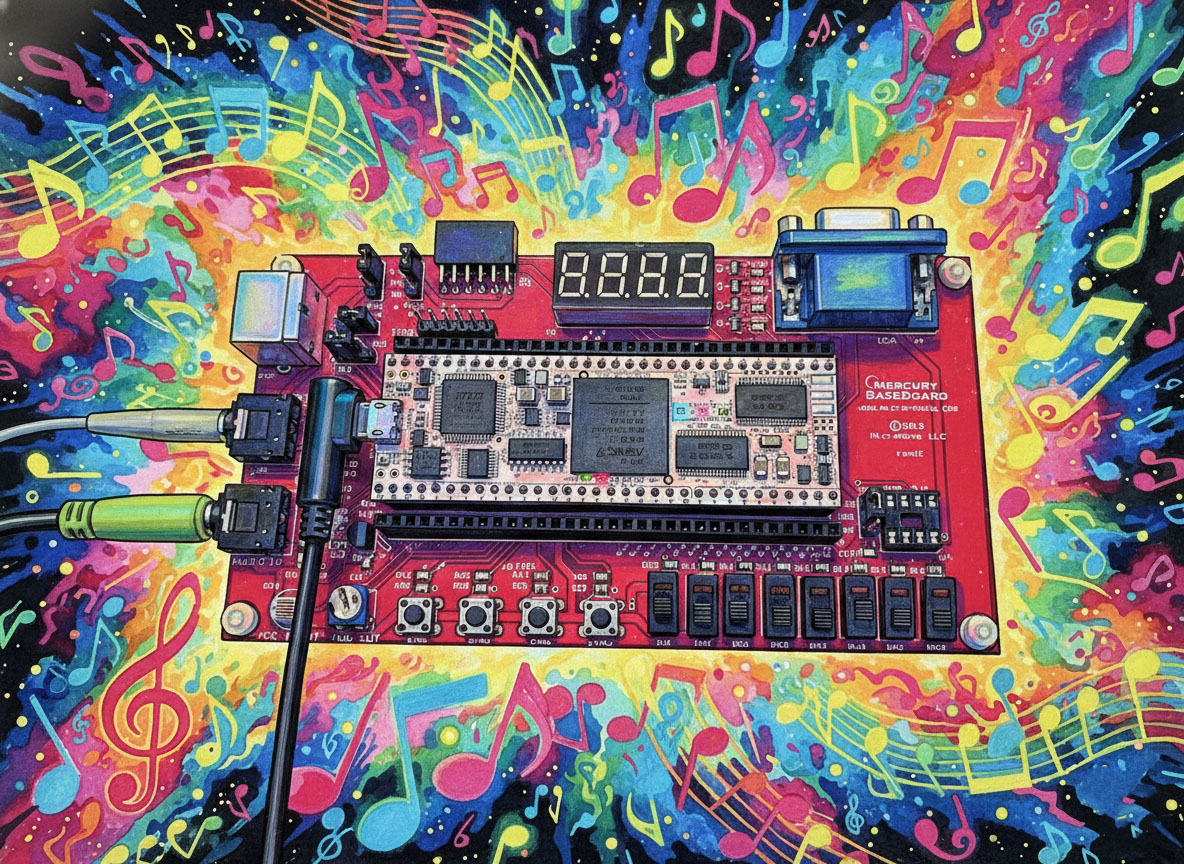
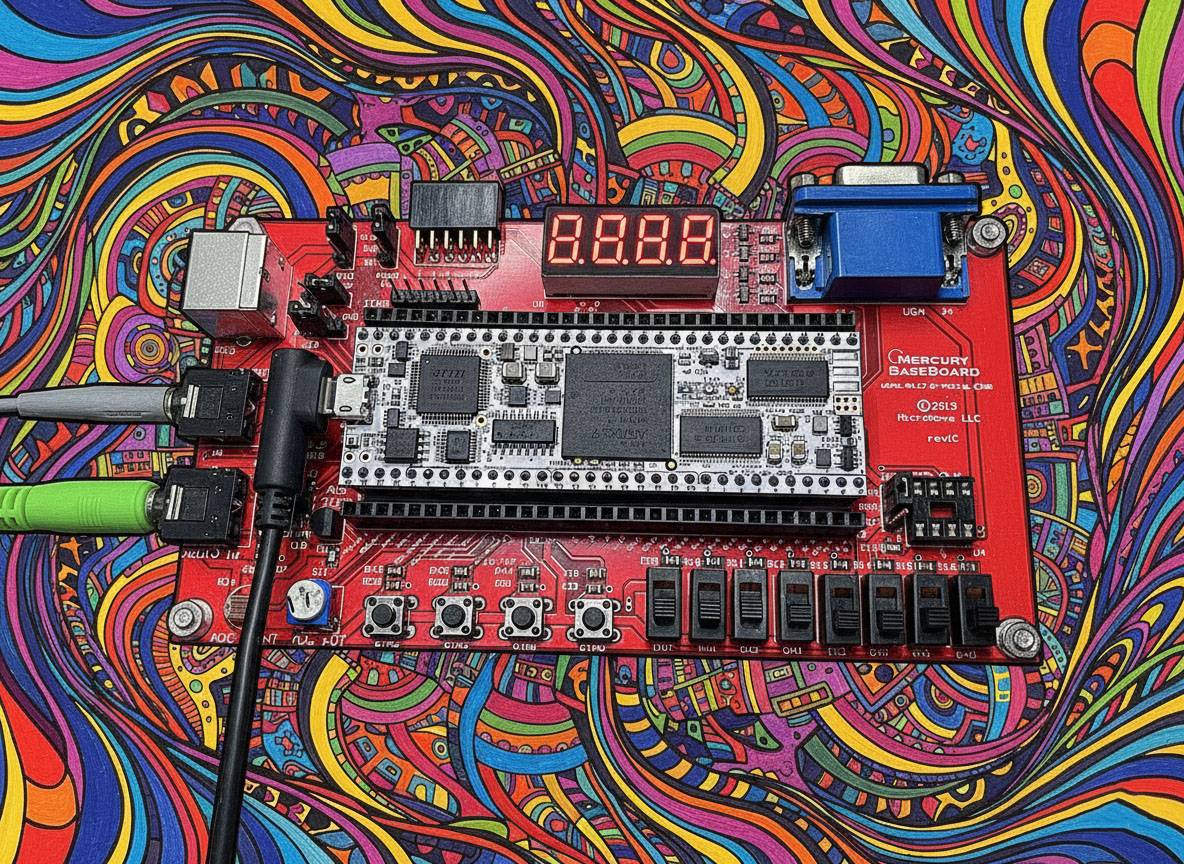
So, I pivoted to the MicroNova Mercury 2.
The FPGA: Artix-7 in a DIP Package
The Mercury 2 is built around the Xilinx Artix-7 (XC7A35T). It’s the same powerful logic fabric found in larger boards, but it comes in a strictly no-nonsense, breadboard-friendly DIP form factor. There is no onboard audio codec. There is no Linux processor hand-holding the data. There are just 5V-tolerant I/O pins and a 50MHz clock.
If I wanted audio, I had to build the entire signal chain myself—both the physical circuit and the Verilog logic to drive it.
The Input: Writing an SPI Driver from Scratch
For the audio input, I chose the MCP3008, a classic 10-bit Analog-to-Digital Converter (ADC). Unlike the Zybo’s line-in which appears as a clean AXI stream, the MCP3008 requires a manual SPI conversation.
I wrote a custom SPI Master driver in Verilog to handle this. It operates at 1MHz, manually toggling the Chip Select, Clock, and MOSI lines to request data. The returned 10-bit signal is then mathematically shifted and scaled into a signed 24-bit integer, ready for the reverb algorithms.
This introduced “real world” engineering challenges—like debugging nanosecond-level timing mismatches where the FPGA was reading the data bit just before the ADC had finished writing it (resulting in digital static). Fixing that required breaking out the oscilloscope (and using the FPGA’s own LEDs as logic probes) to perfect the SPI phase alignment.
The Output: 1-Bit Delta-Sigma DAC
For the output, I didn’t use a dedicated DAC chip at all. Instead, I implemented a Delta-Sigma Modulator inside the FPGA.
This module takes the high-resolution 24-bit audio and dithers it down to a single-bit stream running at a very high frequency (50MHz). By feeding this frenetic 1-bit stream through a simple resistor-capacitor (RC) low-pass filter on the breadboard, the physical voltage smooths out into clean, analog audio.
Why This Matters
By moving from the Zybo to the Mercury 2, Project Skyverb transformed from a “Software Project on an FPGA” to a true “System-on-Chip” design. There are no drivers or libraries here—just raw Verilog talking directly to silicon.
What’s Next?
This is going to be a multi-part series documenting every step of the journey, from the first line of code to the final sound.
- Part 1: We will build the “Digital Wire”—getting sound into the chip and back out without breaking it.
- Part 2: We will create our first echoes.
Whether you are an engineer, a musician, or just someone who likes cool DIY projects, I hope you’ll follow along. Let’s make some noise!