
Get the Code
Code available on GitHubUnder the Hood: How Shader Studio Brings Code to Life
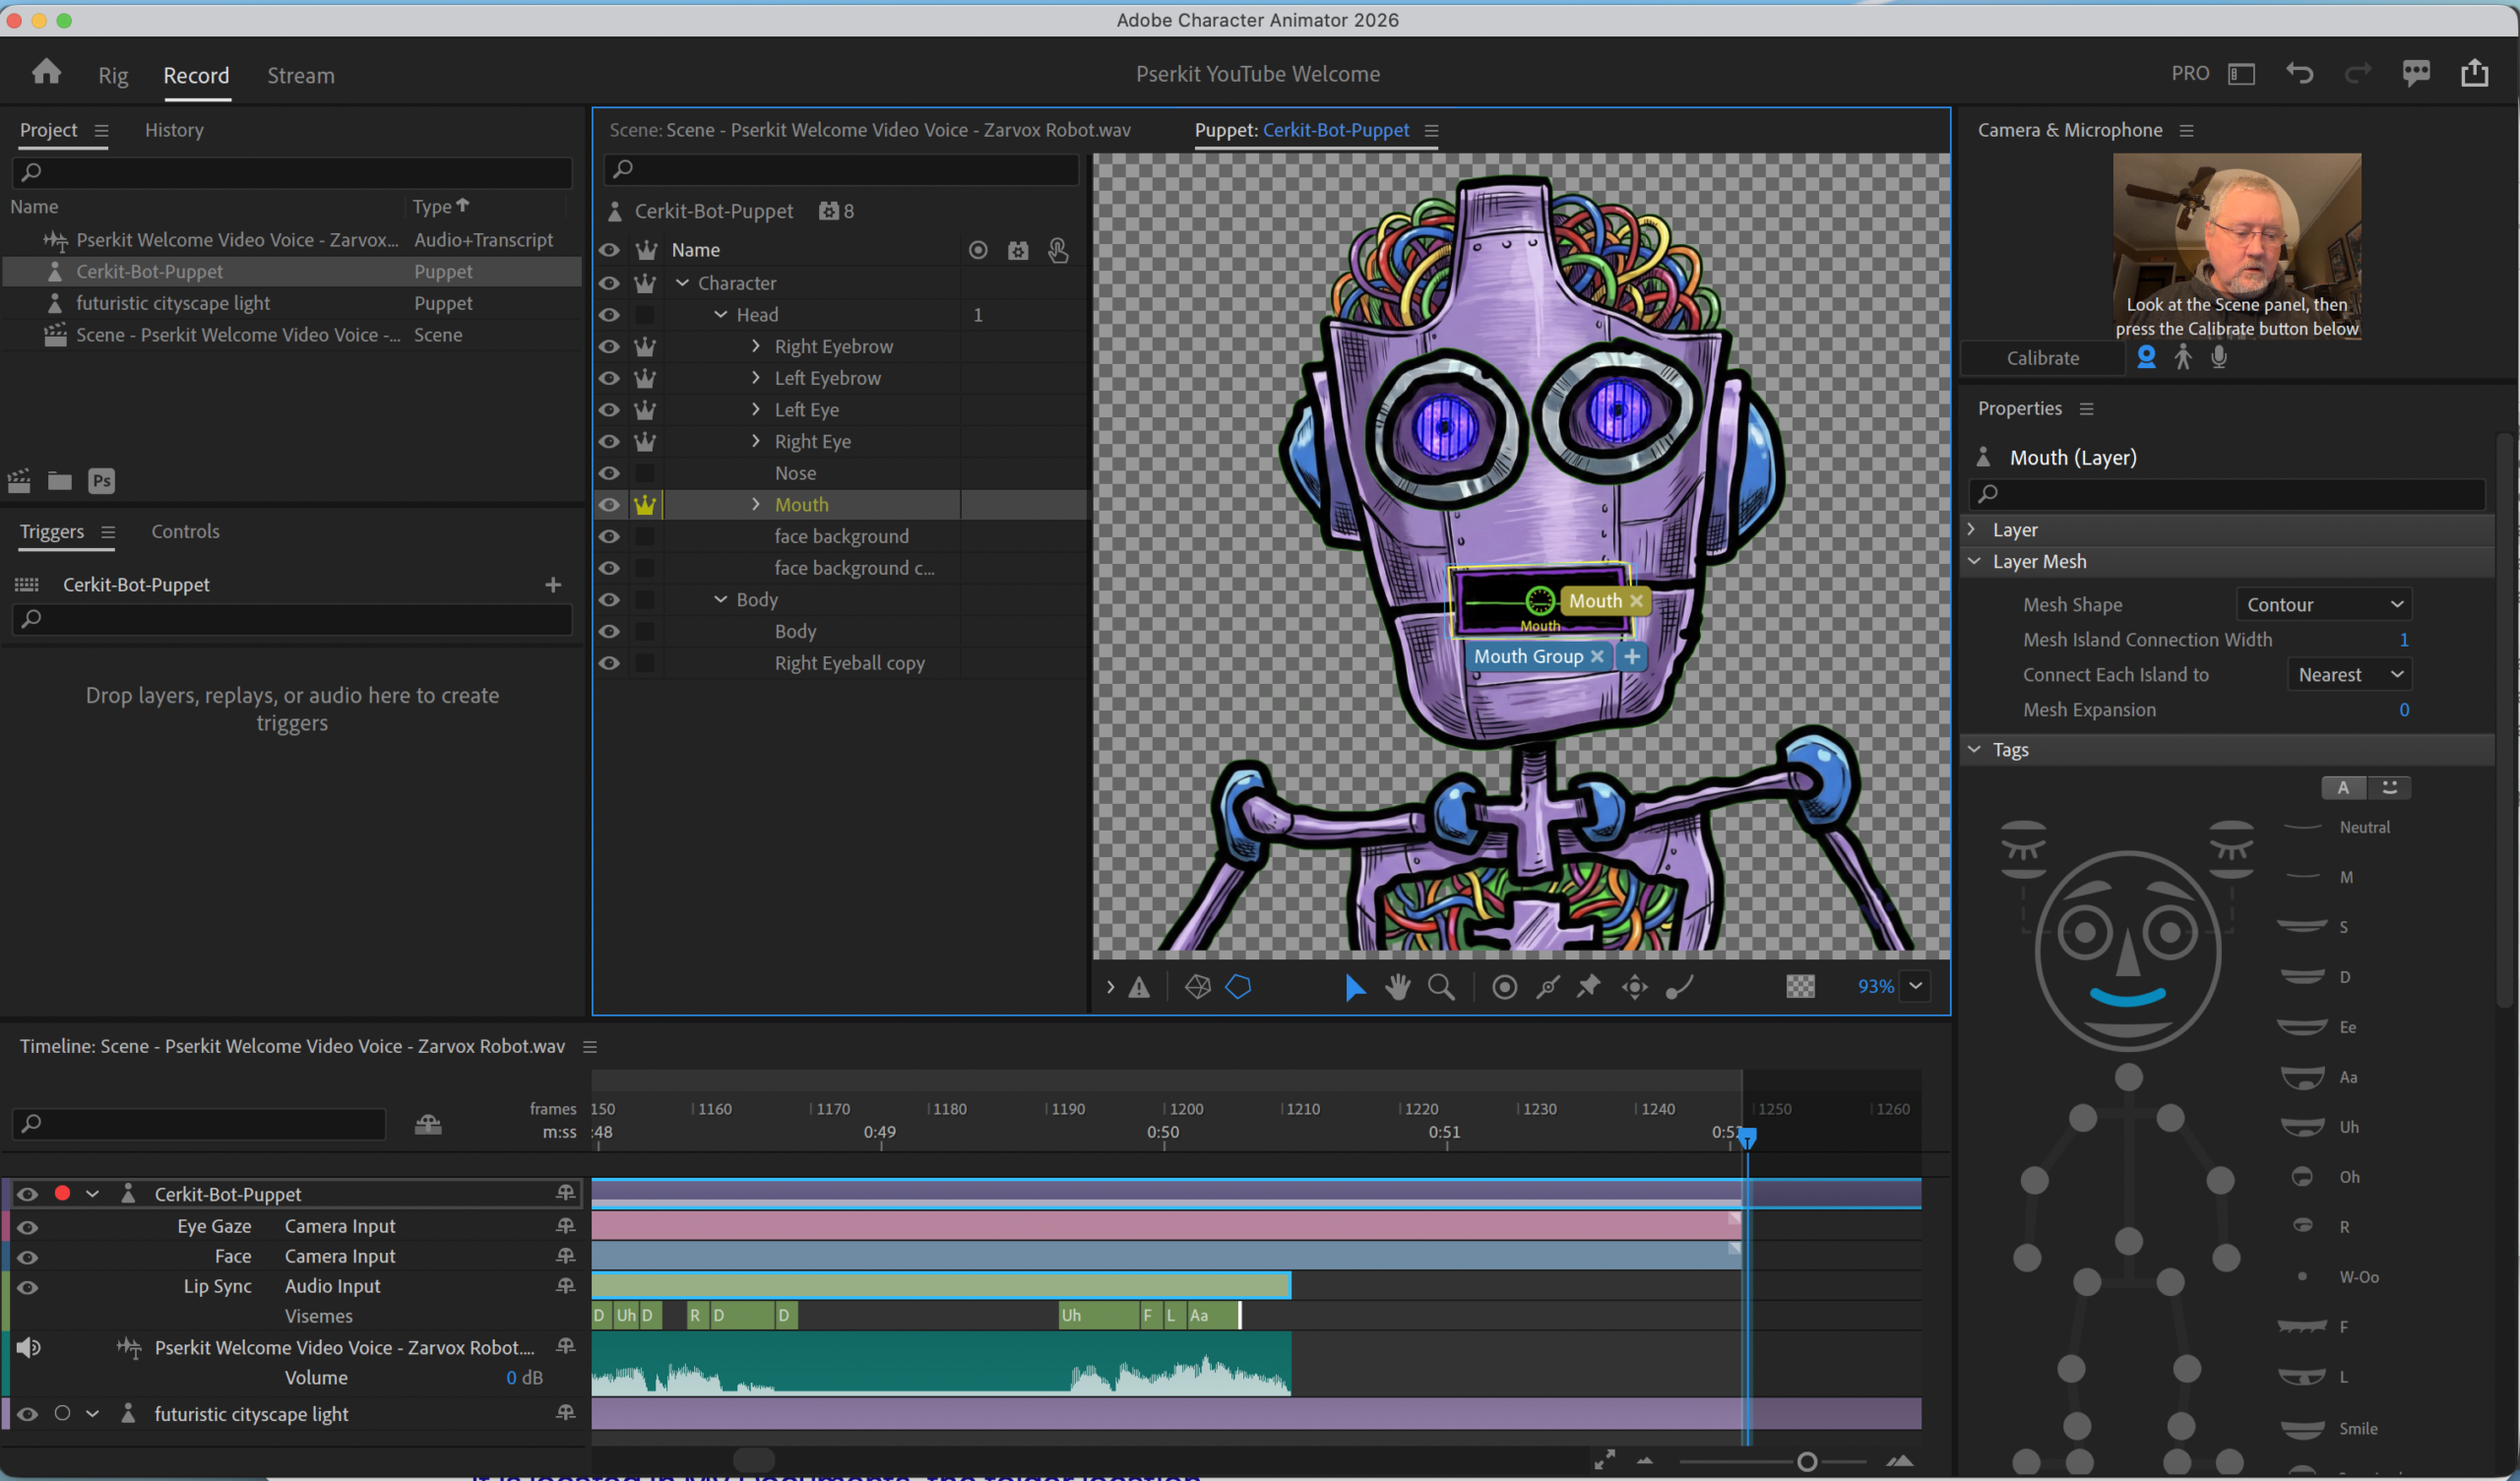
Welcome to cerkit blog. Today, we are taking a deep dive into the architecture of Shader Studio, a native macOS application designed to help users write, visualize, and export procedural animations using the Metal Shading Language (MSL).
If you have ever wondered how a few lines of code can generate complex, moving visuals in real-time, this post will walk you through the application’s process flow. We will look at how the app leverages SwiftUI for the interface and Metal for the heavy graphical lifting.
The Architectural Foundation
At its core, Shader Studio follows the standard Model-View-ViewModel (MVVM) pattern. This ensures a clean separation between the logic and the user interface. The architecture relies on several key components:
ContentView: The main UI layer managing user state and interactions.ShaderRenderer: The engine wrapping the Metal API, handling the device and pipeline state.MetalView: The bridge connecting SwiftUI to the rendering loop.
Phase 1: Initialization and “Source Wrapping”
The lifecycle begins when the app launches. The ShaderRenderer initializes the default system device (GPU) and command queues.
One of the smartest features of this application is how it handles user code. Users only need to write the fragment shader logic. The application automatically handles Source Wrapping. It takes the user’s code and inserts it into a standard MSL boilerplate that includes:
- Standard library includes (
<metal_stdlib>). - A full-screen vertex shader definition (
vertex_main). - The necessary data structures for vertex output.
Once wrapped, the device compiles this complete source string into a library and creates a MTLRenderPipelineState. This object configures the GPU to use these specific shaders and output directly to a texture.
Phase 2: The Real-Time Render Loop
Once compiled, the application enters the real-time preview mode. This runs at 60 frames per second, triggered by the MTKView delegate. Here is what happens every 1/60th of a second:
- Uniform Updates: The CPU calculates the current time (
Date() - startTime) and captures the current view resolution. - Encoding: The renderer creates a command encoder targeting the view’s texture. It sets the active pipeline state and transfers the time and resolution data to the GPU as bytes.
- Draw Primitive: A triangle strip with 4 vertices is drawn to cover the entire screen.
- Commit: The command buffer is sent to the GPU, which executes the user’s shader for every single pixel on the screen.
Phase 3: AI-Assisted Generation
For those who prefer natural language over raw code, the app integrates Generative AI via the GeminiClient.
When a user types a prompt, the client constructs a JSON payload containing the user’s request along with a system prompt that enforces strict MSL syntax rules. This is sent to Google’s Gemini API via an HTTP POST request. Upon receiving the response, the app strips away Markdown formatting and automatically replaces the content in the editor, triggering the compilation phase again.
Phase 4: The Export Pipeline
Finally, users can export their creations as high-quality H.264 video files. This process is handled by the VideoExporter and differs slightly from the real-time preview.
Instead of relying on the screen’s refresh rate, the exporter creates an offline loop:
- Texture Cache: A
CVMetalTextureCacheis created to share memory efficiently between Metal and the video encoder. - Frame Loop: The app iterates through the total number of frames based on the duration. The time variable is manually incremented for each frame to ensure smooth animation.
- Offline Rendering: The renderer targets an offline texture rather than the screen.
- Encoding: Uniquely, the CPU waits for the GPU to finish rendering (
waitUntilCompleted) before appending the buffer to the video file usingAVAssetWriter.
To put it simply…
Think of Shader Studio like a high-tech automated kitchen.
The User provides the “recipe” (the shader code). The ShaderRenderer acts as the Head Chef who takes that recipe, organizes the workstation (Source Wrapping), and prepares the tools (Pipeline State).
During the Real-Time Preview, the kitchen is in “dinner service” mode—cooking dishes instantly to feed the hungry customers in the dining room (the screen). However, during Video Export, the kitchen switches to “catering” mode. They cook the same recipe, but methodically pack each dish into a box (the video file) to be enjoyed later, ensuring every single portion is perfect before moving to the next.