In a previous post, I covered the steps of how to connect an LCD display to the Raspberry Pi. This post will demonstrate how to use it in a Node-Red flow.
Install Node-Red
You can follow these directions to install Node-Red on your Raspberry Pi. I took the extra step to install Node-Red as a service that starts with the Raspberry Pi.
sudo systemctl enable nodered.service
Then, I started the service by typing
sudo systemctl start nodered.service
I also ran the optional configuration to disallow sudo commands without a password by typing:
sudo rm -f /etc/sudoers.d/010_pi-nopasswd
Create the Python Script
Here is a sample script that uses arguments that we can execute from Node-Red.
import sys
from datetime import date, datetime, timedelta
from RPLCD.i2c import CharLCD
import time
# Adjust the I2C address and port if necessary
# Common I2C addresses are 0x27 or 0x3F
lcd = CharLCD(i2c_expander='PCF8574', address=0x3F, port=1, cols=20, rows=4)
lcd.clear()
if len(sys.argv) > 1:
lcd.clear()
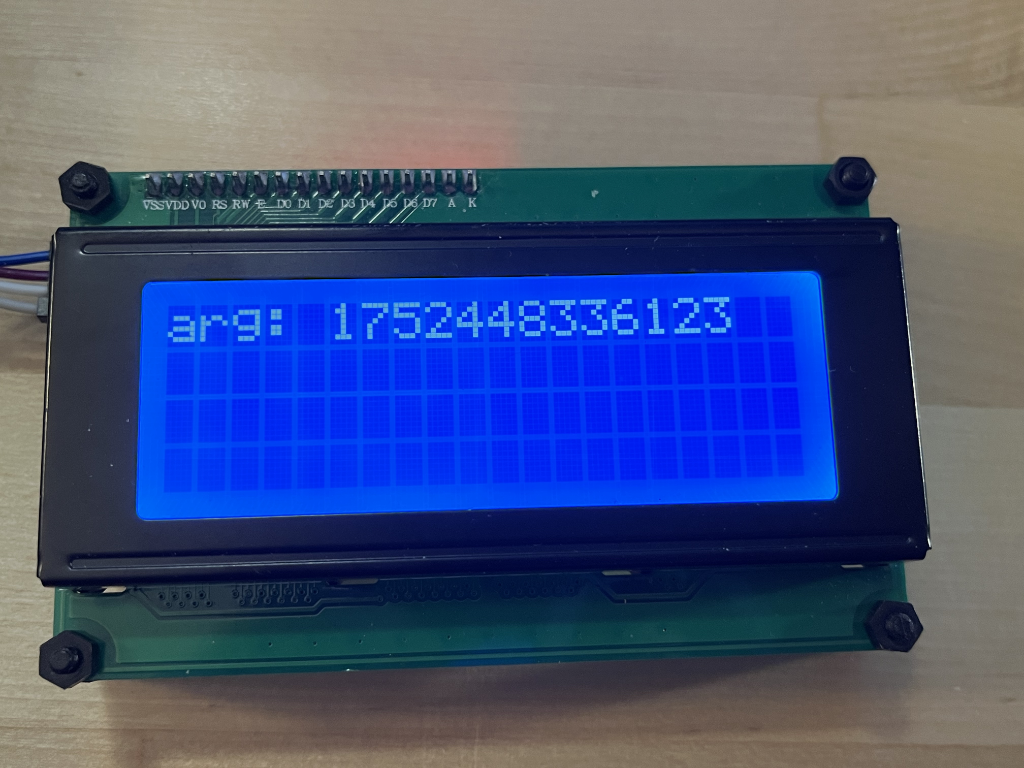
lcd.write_string(f"arg: {sys.argv[1]}")
Create a new flow
From your computer, access the entrypoint to your Node-Red installation (should be http://raspberrypi.local:1880)
Note: If you are accessing from a Mac, there is an issue with Safari that causes it to not clear the palette after a search. This is a know issue with Safari as it seems to have something to do with scripting security. Access Node-Red using Edge, Chrome or Firefox. If you are using Edge, you will have to go to System Settings->Privacy and Security->Local Network and turn on Edge.
We’ll be using the node-red-contrib-pythonshell node. Here are the instructions of how to install that node from an AI search result:
In Node-RED, go to “Manage palette” -> “Install” and search for
node-red-contrib-pythonshell. Install the node.
Add nodes
Add an Inject node to your flow. Then add a pythonshell in node. Also add a debug node. Wire these nodes together.
Configure the pythonshell node
Edit the properties of your pythonshell node. Give it a Name. For the path, use the path to the python script we just created. I usually put these in a subfolder beneath a Development folder on my home folder.
In my case the path to the script is /home/users/[your-username]/Development/node-red-message.py. The path to my venv is /home/users/[your-username]/Development/node-red-message-env. This environment should already be configured with the necessary libraries needed to run the script that interfaces with the LCD over I2C (I cover how to create the necessary virtual environment in this post).
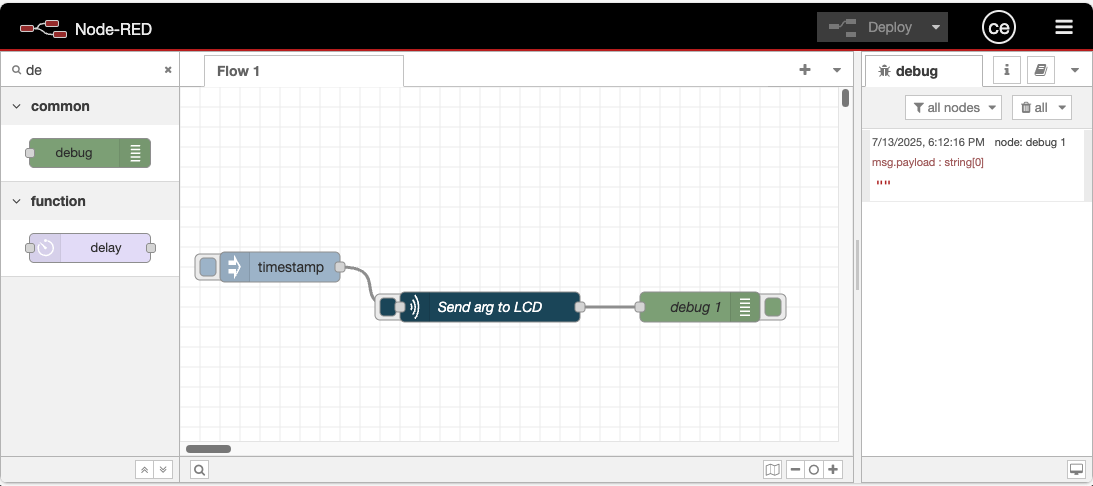
Here is the final flow. Just press the “button” beside the timestamp node to send the current timestamp to your LCD screen.
Here are the results displayed on the LCD screen: