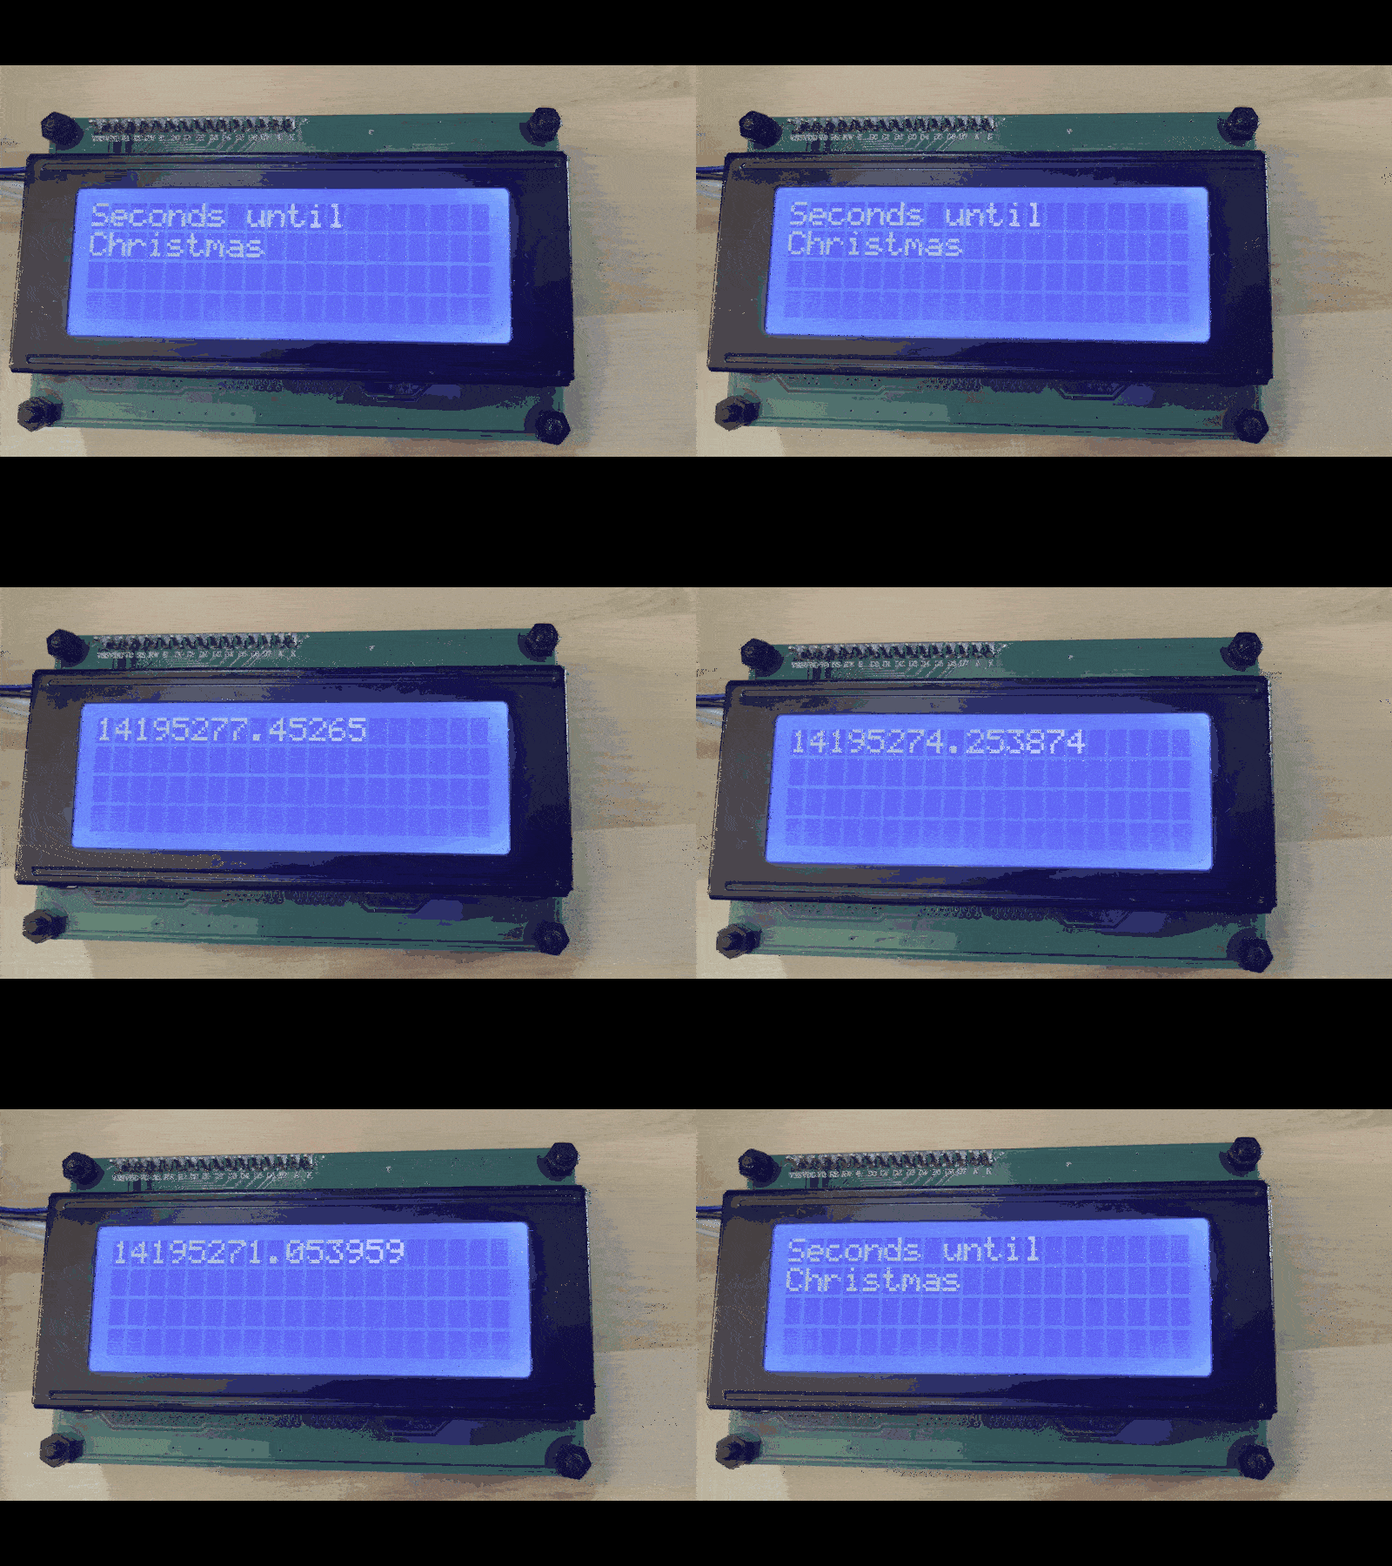
I’ve spent the past few days exploring a project that allows me to display text on an LCD using a Raspberry Pi. We will be using Python in this post, so familiarity with Python will be useful.
First, make sure you have I2C enabled. You can check this by running:
sudo raspi-config
Connect your LCD to the Raspberry Pi
I am using a LCD display with “2004A” on the bottom. It has an I2C backpack so it can be driven by the Raspberry Pi’s I2C pins. The LCD display uses the PCF8574 expander, though the documentation I’ve seen on this particular interfacing method seems to suggest that most of the LCD screens use a similar architecture, so they should work with this code.
Pin Connections
Connect the SCL and SDA pins on the LCD board to the SDA(Pin 1) and SCL(Pin 3) pins of the Raspberry Pi. Connect power and ground. The LCD screen requires 5v, so make sure to connect to Pins 2 or 4. Connect to any open GND pin on the Raspberry Pi.
Writing the Code in Python
I used nano executing on my Pi, but any IDE can be used. Create the .py script in your development folder. Because some of our prerequisites require a virtual environment, we will need to create one before we can execute the code.
Creating a virtual environment
python -m venv myenv
This will create the virtual environment. Then, execute:
source myenv/bin/activate
This will start your virtual environment. You will be presented with a command prompt prefixed with the name of the environment.
Installing Prerequisites
From within the virtual environment, run the following two commands:
pip install smbus2pip install RPLCD
This will prepare your environment to run your script and give it full access to the LCD display.
Create a python program named seconds.py:
nano seconds.py
Example Code for Displaying Data on the LCD
For our example, let’s display the number of seconds until Christmas.
from datetime import date, datetime, timedelta
from RPLCD.i2c import CharLCD
import time

# Adjust the I2C address and port if necessary
# Common I2C addresses are 0x27 or 0x3F
lcd = CharLCD(i2c_expander='PCF8574', address=0x3F, port=1, cols=20, rows=4)

lcd.clear()

counter = 10

while True:
    if counter >= 10:
        lcd.clear()
        lcd.write_string("Seconds until")
        lcd.crlf()
        lcd.write_string("Christmas")

        time.sleep(5)
        counter = 0
    date1 = datetime.now()  # datetime.now()
    date2 = datetime(2025, 12, 25)

    difference = date2 - date1
    seconds_until_christmas = difference.total_seconds()
    lcd.clear()
    lcd.write_string(f"{seconds_until_christmas}")
    time.sleep(1)
    counter = counter + 1
Once you’ve pasted the code there, press CTRL+X, then Y, then ENTER to accept the code changes and save them to disk.
Then, from within your virtual environment, run your script:
python seconds.py
You should see the seconds until Christmas displayed after a short message. After 10 seconds, the message will appear again.

I just found another resource that can aid in this, but it is hosted on Medium, which requires an account creation to read.
How to Set Up a Raspberry Pi 4 with LCD Display Using I2C Backpack
This allows you to use the LCD module from Python without running in a virtual environment, but I chose the virtual environment for another reason. I will be using it in a Node-Red flow.


